19. Movies
Setup
Video is supported by functions in Processing libraries, instead of by "built-in" functions. To be able to use the functions in these libraries, the line import processing.video.*; must be at the top of the sketch. You can either just type that in, or select "video" from the "Sketch | Import Library ..." menu to have Processing insert it.
Processing uses QuickTime format for video; files end in ".mov". That means that Mac people shouldn't have to do anything to get going, but Windows people might. In particular, Windows people should make sure that QuickTime is installed, either on its own or via iTunes (which includes it).
Sketches using video don't run as applets, so you'll have to download the pde files and run them within the Processing environment.
As with an image, in order to give Processing access to a movie, it must be placed within the data folder, either manually or with the menu option Sketch | Add File. The examples here use the "station.mov" movie from the Processing example Libraries | Video (Movie) | Loop. To use a different movie file, make sure it's in QuickTime format, with extension ".mov". In either case, be sure to put the movie in the data folder. The sketches here use the station movie from Processing, that I renamed as movie,mov for simplicity. Here is a link to it.
Unfortunately, the use of QuickTime in Processing via a Java library has in recent versions become quite unstable. Sometimes a sketch will work fine, while other times strange errors will show up (at unpredictable points) and eventually kill off the sketch. The Processing discussion boards have various suggestions that sometimes help, such as including the additional parameter P3D (and I've seen P2D in the built-in examples) when setting the size of the window, as well as setting the window to be a bit larger than needed. Neither of those consistently helps me, so I just put up with having to re-start the sketch.
Reading
In Processing, there's a strong analogy between moving from static to dynamic sketches, and moving from images to movies. In particular, a movie is treated as nothing more than one image after another, presented each frame (at the movie's rate). So the only real question is how to read in the images; after that, we're just using them exactly as we did all last week.
To deal with a movie, we declare a global variable of type Movie at the top of the sketch. We create a new instance within setup(), since we only want to create it once. The first parameter to the constructor is "this" (i.e., the Processing applet itself) and the second is the filename.
Once a movie object is created, we start it playing either with the Movie.play() method (which plays it once) or the Movie.loop() method (which repeats ad infinitum, or until the Movie.noLoop() method is invoked).
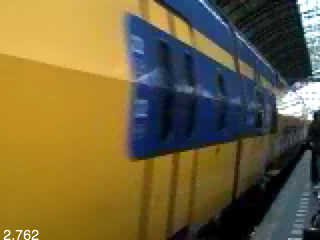
There are two ways to deal with displaying the frames that come in from a playing movie, somewhat analogous to the two ways we deal with mouse presses. The first approach explicitly tests, within the draw() function, for the availability of another movie frame. If one is available, it reads it (using the Movie.read() method), at which point the movie variable can be treated exactly like a PImage. In the following, we simply display it, via image(). This sketch also uses the Movie.time() method to get the time (in seconds, as a float) of the current frame. [Note that I have an empty method movieEvent, which I put here since it magically breaks the code less. It is Processing problem!]
// Uses movie file from Processing example Libraries | Video (Movie) | Loop

import processing.video.*; // video library

Movie mov;

function setup()
{
  createCanvas(320,240);
  smooth();
  textFont(loadFont("Helvetica-14.vlw"));

  // load and start the movie
  mov = new Movie(this, "movie.mov");
  mov.loop();
}

// this is called when a new frame is available
// albeit this does nothing, it appears to help the program running well
function movieEvent(Movie m) { }

function draw()
{
  if(mov.available()) {
    mov.read();
    image(mov,0,0,320,240);  // now treat the movie frame like an image
    text(mov.time(),0,height);
  }
}
The second approach uses a separate function that we define, movieEvent(); this function gets called whenever a frame is available for reading. The movieEvent function takes a parameter that says which movie it is for which a frame is available; we then ask it to read a frame.
// Uses movie file from Processing example Libraries | Video (Movie) | Loop

import processing.video.*; // video library

Movie mov;

var firstframe = false;

function setup()
{
  createCanvas(320,240);
  smooth();
  textFont(loadFont("Helvetica-14.vlw"));

  // load and start the movie
  mov = new Movie(this, "movie.mov");
  mov.loop();
}

function movieEvent(Movie m) {
  m.read();
  firstframe = true;
}

function draw()
{
  if(firstframe) { // make sure at least one frame has been read
    image(mov,0,0,320,240);  // now treat the movie frame like an image
    text(mov.time(),0,height);
  }
}
In the following sketch, we use the Movie.jump() and Movie.duration() methods to get iMovie-like scrubbing. For other methods' documentation, check out Movie reference.
// Uses movie file from Processing example Libraries | Video (Movie) | Loop

import processing.video.*; // video library

Movie mov;

function setup()
{
  createCanvas(320,240);
  smooth();
  textFont(loadFont("Helvetica-14.vlw"));

  // load and start the movie
  mov = new Movie(this, "movie.mov");
  mov.play();
}

// this is called when a new frame is available
// albeit this does nothing, it appears to help the program running well
function movieEvent(Movie m) { }

function draw()
{
  // jump if mouse pressed
  if(mouseIsPressed) { mov.jump(map(mouseX,0,width,0,mov.duration())); }

  if(mov.available()) {
    mov.read();
    image(mov,0,0,320,240);  // now treat the movie frame like an image
    text(mov.time(),0,height);
    if(mouseIsPressed) mov.stop(); // stop right here if mousePressed
  }
}
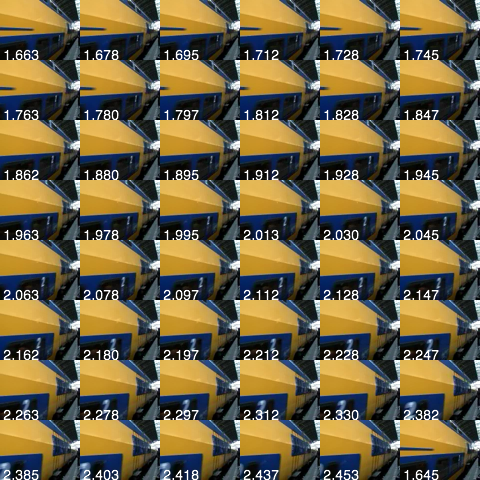
Finally, here is an example of showing each individual frame included in the movie, just like we did for animation.
// Uses movie file from Processing example Libraries | Video (Movie) | Loop

import processing.video.*; // video library

Movie mov;
var cur = 0;          // current frame coordinates

function setup()
{
  createCanvas(480,480);
  smooth();
  textFont(loadFont("Helvetica-14.vlw"));

  // load and start the movie
  mov = new Movie(this, "movie.mov");
  mov.loop();
}

// this is called when a new frame is available
// albeit this does nothing, it appears to help the program running well
function movieEvent(Movie m) { }

function draw()
{
  if(mov.available()) {
    mov.read();
    // determine offsets: need to place it here since it has to be after we read a frame
    var tileW = mov.width/2, tileH = mov.height/2;
    var numX = width / tileW, numY = height / tileH; // number of tiles in x,y
    var x = cur % numX, y = (cur / numX) % numY;
    image(mov,x*tileW,y*tileH,tileW,tileH);  // now treat the movie frame like an image
    text(mov.time(),x*tileW,(y+1)*tileH);
    cur ++;
  }
}
Processing
That's all there is to the machinery. Once we've read in a movie frame, it's treated just like any PImage, and we can do all the stuff we've done with images, combined with all the stuff we've done with sketches in general. For example, the Processing example Libraries | Video (Movie) | Loop "draws" with a movie, i.e. it puts the movie image wherever the mouse is, while the example Libraries | Video (Movie) | Pixelate renders each frame with rectangles.
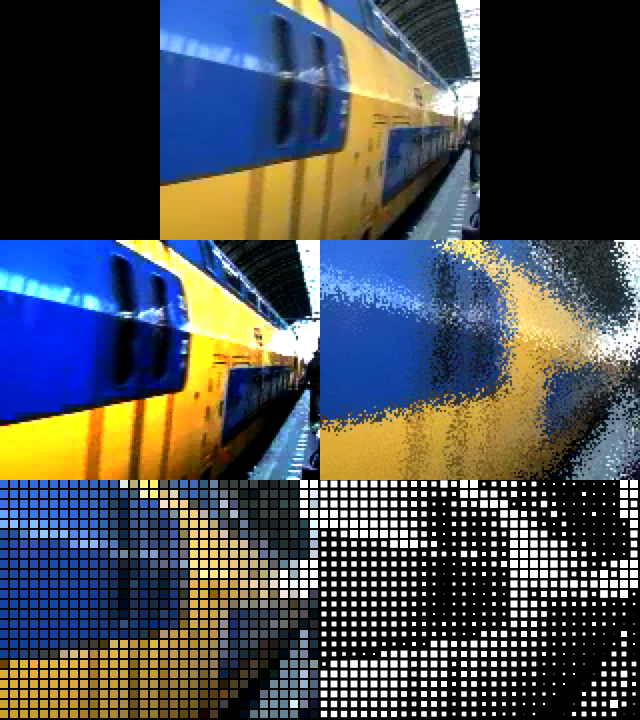
In the example below, I will use some builtin filters, some we have designed and even mosaic the movie. This is basically bringing in the ideas we developed on images and apply them to movies without a change, since Movie are just "changing images" in Processing.
// Uses movie file from Processing example Libraries | Video (Movie) | Loop

import processing.video.*; // video library

Movie mov;

function setup()
{
  createCanvas(640,720);
  smooth();
  rectMode(CENTER);

  // load and start the movie
  mov = new Movie(this, "movie.mov");
  mov.loop();
}

// this is called when a new frame is available
// albeit this does nothing, it appears to help the program running well
function movieEvent(Movie m) { }

// Same as with images
PImage filterContrast(PImage src) {
  PImage ret = new PImage(src.width,src.height); // make a new image
  var contrast = 0.01;  // factor by which to push toward either 0 or 255
  for (var i=0; i<src.pixels.length; i++) {
    color p=src.pixels[i];
    var r=red(p), g=green(p), b=blue(p);
    r = constrain(r+r*contrast*(r-127.5), 0,255);
    g = constrain(g+g*contrast*(g-127.5), 0,255);
    b = constrain(b+b*contrast*(b-127.5), 0,255);
    ret.pixels[i] = color(r,g,b);
  }
  ret.updatePixels();
  return ret;
}

// Same as with images
PImage filterScramble(PImage src, var sx) {
  PImage ret = new PImage(src.width,src.height); // make a new image
  for (var y=0; y<src.height; y++) {
    for (var x=0; x<src.width; x++) {
      pset(ret,x,y,pget(src,var(random(x-sx,x+sx)),var(random(y-sx,y+sx))));
    }
  }
  ret.updatePixels();
  return ret;
}

function draw()
{
  if(mov.available()) {
    mov.read(); mov.loadPixels();

    // apply filters
    PImage f1 = filterContrast(mov);
    PImage f2 = filterScramble(mov,5);

    // draw frames
    background(0);
    image(mov,mov.width,0,mov.width*2,mov.height*2);
    image(f1,0,mov.height*2,mov.width*2,mov.height*2);
    image(f2,mov.width*2,mov.height*2,mov.width*2,mov.height*2);

    // draw a rect mosaic
    pushMatrix();
    translate(0,mov.height*4);
    noStroke();
    var s = 4;
    for (var y = s/2; y < mov.height; y += s+1) {
      for (var x = s/2; x < mov.width; x += s+1) {
        fill(pget(mov,var(x),var(y)));
        rect(x*2,y*2,s*2,s*2);
      }
    }
    popMatrix();

    // draw a rect mosaic
    pushMatrix();
    translate(mov.width*2,mov.height*4);
    noStroke(); fill(255);
    for (var y = s/2; y < mov.height; y += s+1) {
      for (var x = s/2; x < mov.width; x += s+1) {
        color pixel = pget(mov,var(x),var(y));
        var b = brightness(pixel) / 255.0;
        rect(x*2,y*2,s*b*2,s*b*2);
      }
    }
    popMatrix();
  }
}
Writing
Just as we can save a snapshot of the current window, we can save a movie whose frames are made from snapshots of the window. The MovieMaker class supports this functionality. There's not much to it. First we declare a global MovieMaker variable and create a new object in setup(). The constructor takes "this" again, along with the width, height, name of the output file, and some optional parameters about the movie encoding. Then any time we want to add a frame containing the current window, we invoke the MovieMaker.addFrame() method. When we're finished, we call the MovieMaker.finish() method to make sure the movie is cleanly saved.
One illustration is provided by Processing example Libraries | Video (Movie Maker) | Drawing Movie; another is on the MovieMaker documentation page. These just do standard mouse-based drawing, saving out a snapshot every frame. Warning: the default parameters (high quality) can produce pretty large files. Here is a movie I recorded with the sketch that follows it (taken from a previous example we did).
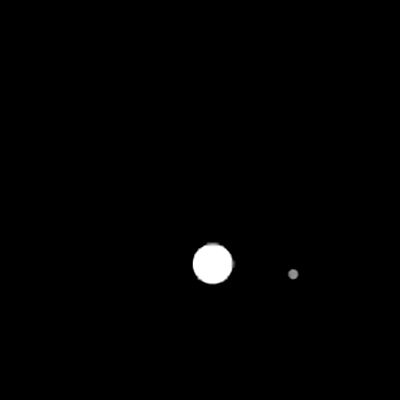
import processing.video.*;

MovieMaker mm; // this is the movie maker objects

// from previous sketch
var x = 0, y = 0;
var r = 20;
var easing = 0.05;

function setup()
{
  createCanvas(400,400);
  smooth();
  noStroke();

  // make a new MovieMaker
  mm = new MovieMaker(this, width, height, "sketch.mov", 30, MovieMaker.H263, MovieMaker.HIGH);
}

function draw()
{
  background(0);
  fill(255);
  ellipse(x,y,2*r,2*r);
  fill(128);
  ellipse(mouseX,mouseY,r/2,r/2);

  // take a step
  var vx = (mouseX - x) * easing;
  var vy = (mouseY - y) * easing;
  x += vx; y += vy;

  // add a frame
  mm.addFrame();
}

function keyPressed() {
  if (key == ' ') {
    mm.finish();  // Finish the movie if space bar is pressed!
  }
}