Sound and Music III
Audio in the Frequency Domain
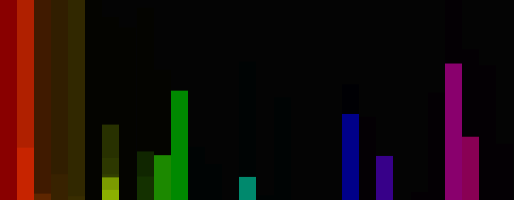
Viewing a time domain audio waveform doesn't give us easily interpretable information. Our auditory system naturally analyzes sound in frequency bands. So perhaps we'd like to visualize how much energy there is in the audio across frequency. The minim.analysis FFT class computes a Discrete Fourier Transform of time domain audio data. (FFT stands for "Fast Fourier Transform"; an FFT is computationally efficient algorithm for computing the DFT.)
An FFT on
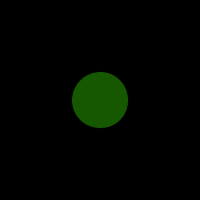
Beat Detection
Minim includes a class to perform basic beat detection. It has two modes, one that uses overall energy and the other that uses frequency-band energy. It aso has basic detectors for kick drum, snare drum, and hi hat.
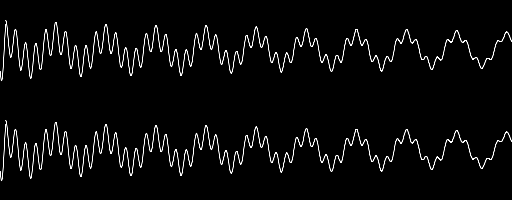
Vocoder (Robot Voice)
A vocoder uses the energy in the frequency bands of one signal to modulate the energy in the frequency bands of second signal. Minim has a built-in easy to use vocoder. This example shows how one may capture sound from their computer microphone and use it to modulate a synth having two saw wave oscillators. (It might be best to try this out using headphones.)
Synthesizing with Beads
The Basics
At this point you've probably played around with the external library Blip (we covered Blip in Sound and Music I). Blip is a class that wraps around Beads, adding some extra convenience functions. If you've downloaded Blip, then you already have Beads. If not, then you can download it from the project page. The documentation can be found here.
Many of the functions that Beads performs are also performed by Minim. Beads is useful when you need a library that gives some support for controlling the timing of events. In the following sections, we will show how to build a Four Step Sequencer Synthesizer using Beads, like the one shown in this video.
Four Step Sequencer Synthesizer
What is a “Four Step Sequencer Synthesizer”?
- A synthesizer generates musical tones. In this example we use square wave oscillators, which sound bright compared to smooth-sounding pure sine tones.
- A sequencer plays a series of samples or sounds in sequence.
- The Four Step Sequencer Synthesizer plays four sine wave oscillators in sequence. The frequencies of the oscillators are independent of each other. At any given time, only one of the four oscillators is turned on.
- The bottom four knobs of the interface control the frequencies of the four oscillators.
- The top row has respective controls for sequencer rate, on/off switch, low pass filter cut-off frequency, and gain.
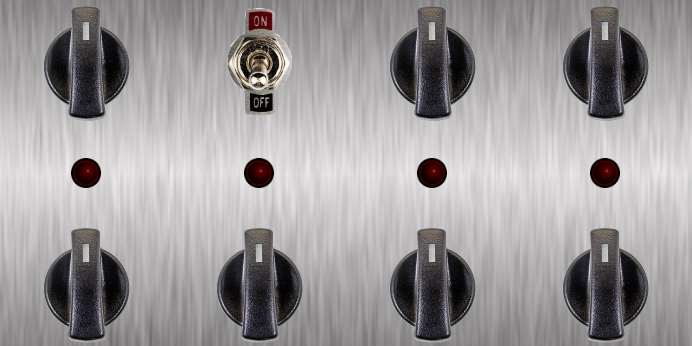
Visual Interface
The basics of coding for Processing are illustrated here. We build a static visual interface. It loads a bunch of images and places them on the screen. The interface has no user interactions. Not too exciting, but it looks pretty cool!
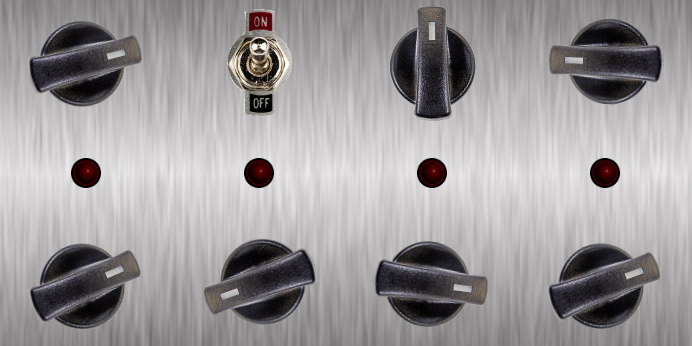
Classes and User Interaction
We take all the knobs and controls and generalize them as classes. We add user interaction so that knobs can be turned, switches can be flipped, and LED lights can turn on and off. This step illustrates some important concepts concerning arrays, Object Oriented coding, and setting up a grid of interaction “zones” for monitoring mouse location.
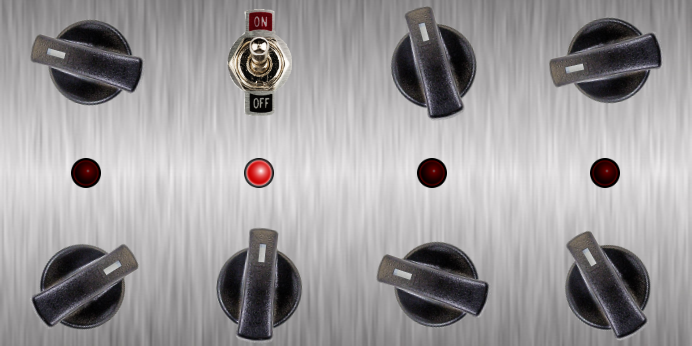
Let There be Sound!
In some ways, this step of the tutorial is the most advanced. We import an external Java sound synthesis library called Beads. We modify the classes so that the knobs can control some parameters of the Beads class instances. There is a master clock that Beads instantiates. We use this clock to trigger the oscillators. There are several advanced concepts that this step of the tutorial depicts such as external libraries, class extension, method overriding, and multithreading. At this point, the applet looks and behaves like the hardware synthesizer that we are modeling.
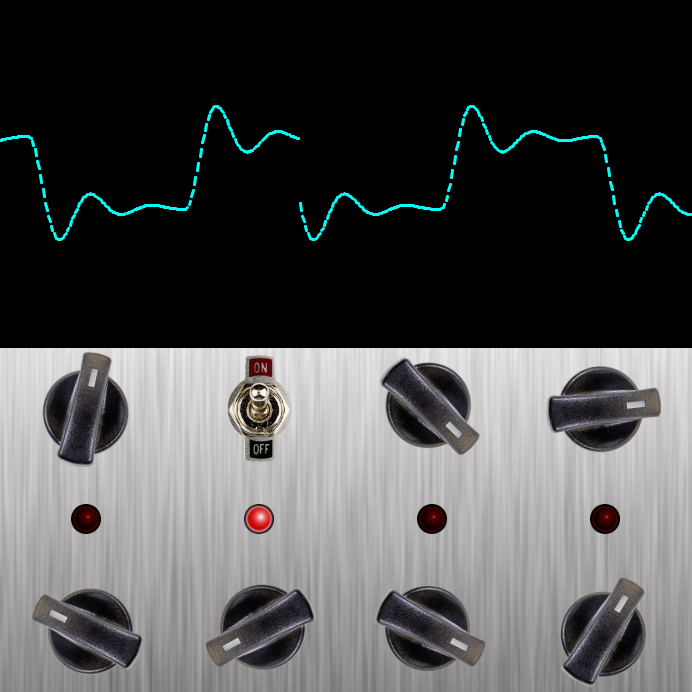
Let’s Draw Some Stuff and Make it Look Cooler
Now that we are finished modeling the hardware, we start thinking about adding additional features. In this step, we add a window that draws the waveform of the sound we are hearing. There aren’t many new concepts introduced here, except perhaps reading from buffers.
More (Musical) Interaction
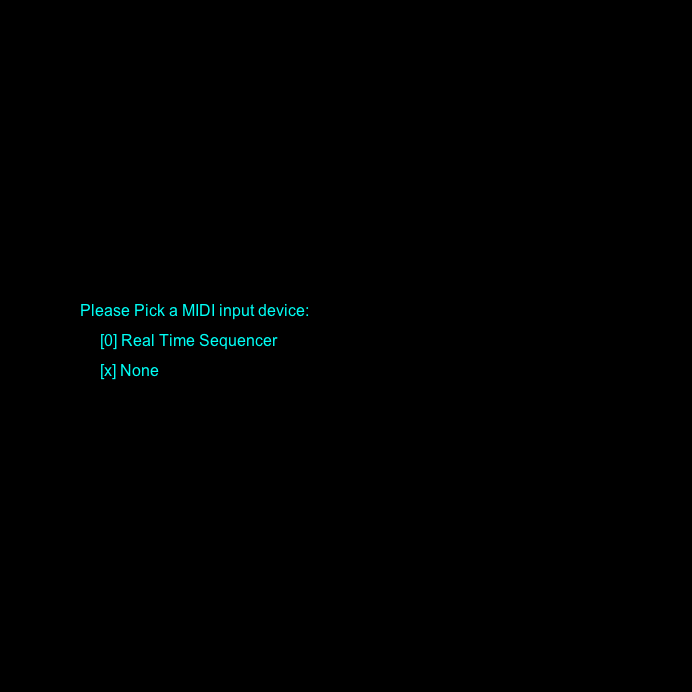
It’s all fine and dandy to use a mouse to control this musical instrument. But to actually play it, we might want to use a more a more appropriate input device. This step of the tutorial illustrates how to detect a MIDI input device and use the device to control the user interface. We also show how to wait for user interaction via keyboard input. There are surprisingly few modifications necessary to accomplish these additional features.
Note: This step assumes that we are using the Korg nanoKontrol2 as an input device. We have hard-coded the mapping between MIDI controller and graphical user interface. This is