
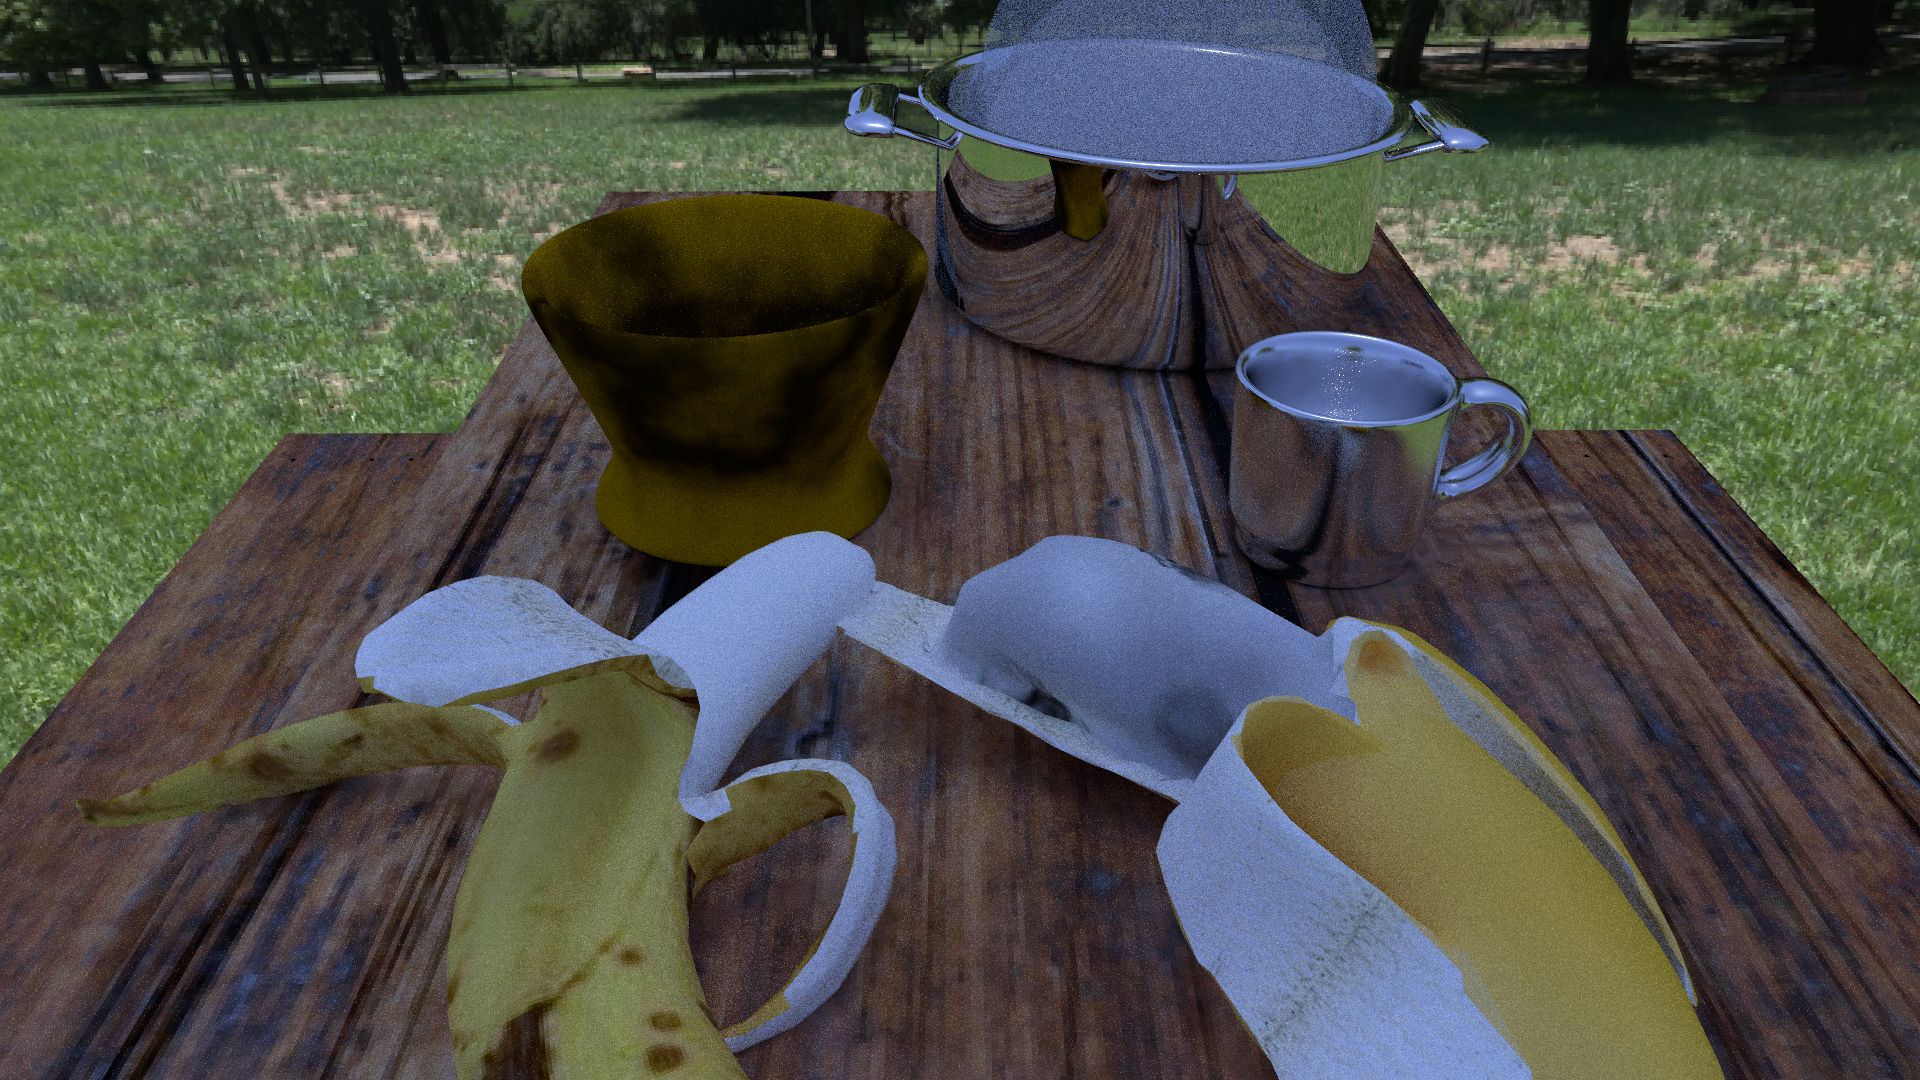
Our final render will be an image of these two bananas in a kitchen scene. The kitchen scene will include many different appliances to make it look like a realistic kitchen
The centerpiece of the image will be the two bananas. They conform to the theme “it’s what’s inside that counts” because the banana that is bruised on the outside is better because its inside is fresh, while the banana that is fresh on the outside is bruised on the inside. The rest of the image will be the background to support the two bananas.
(#) New Features (##) Environment Mapping with importance sampling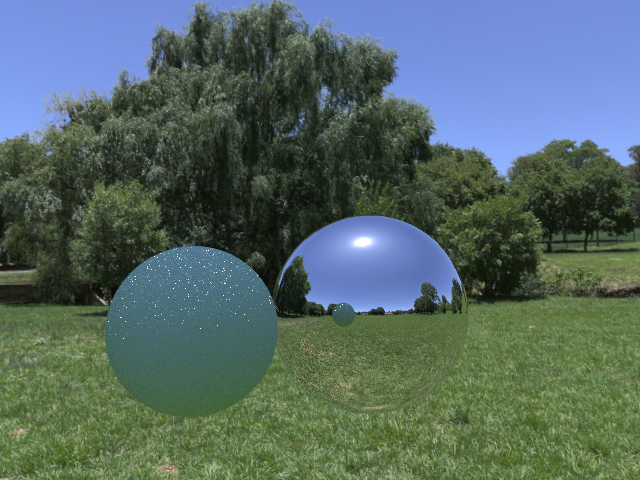
This feature was implemented based on the implementation in the PBR textbook as well as the implemenation we learned in class. The environment map works by reading in an image texture from json file which is specified as the environment map. Then, whenever a ray leaves the scenes, rather than returning a background color it returns a look up into the environment map based on the ray's direction. An example of a scene with an environment map can be seen in the first image.
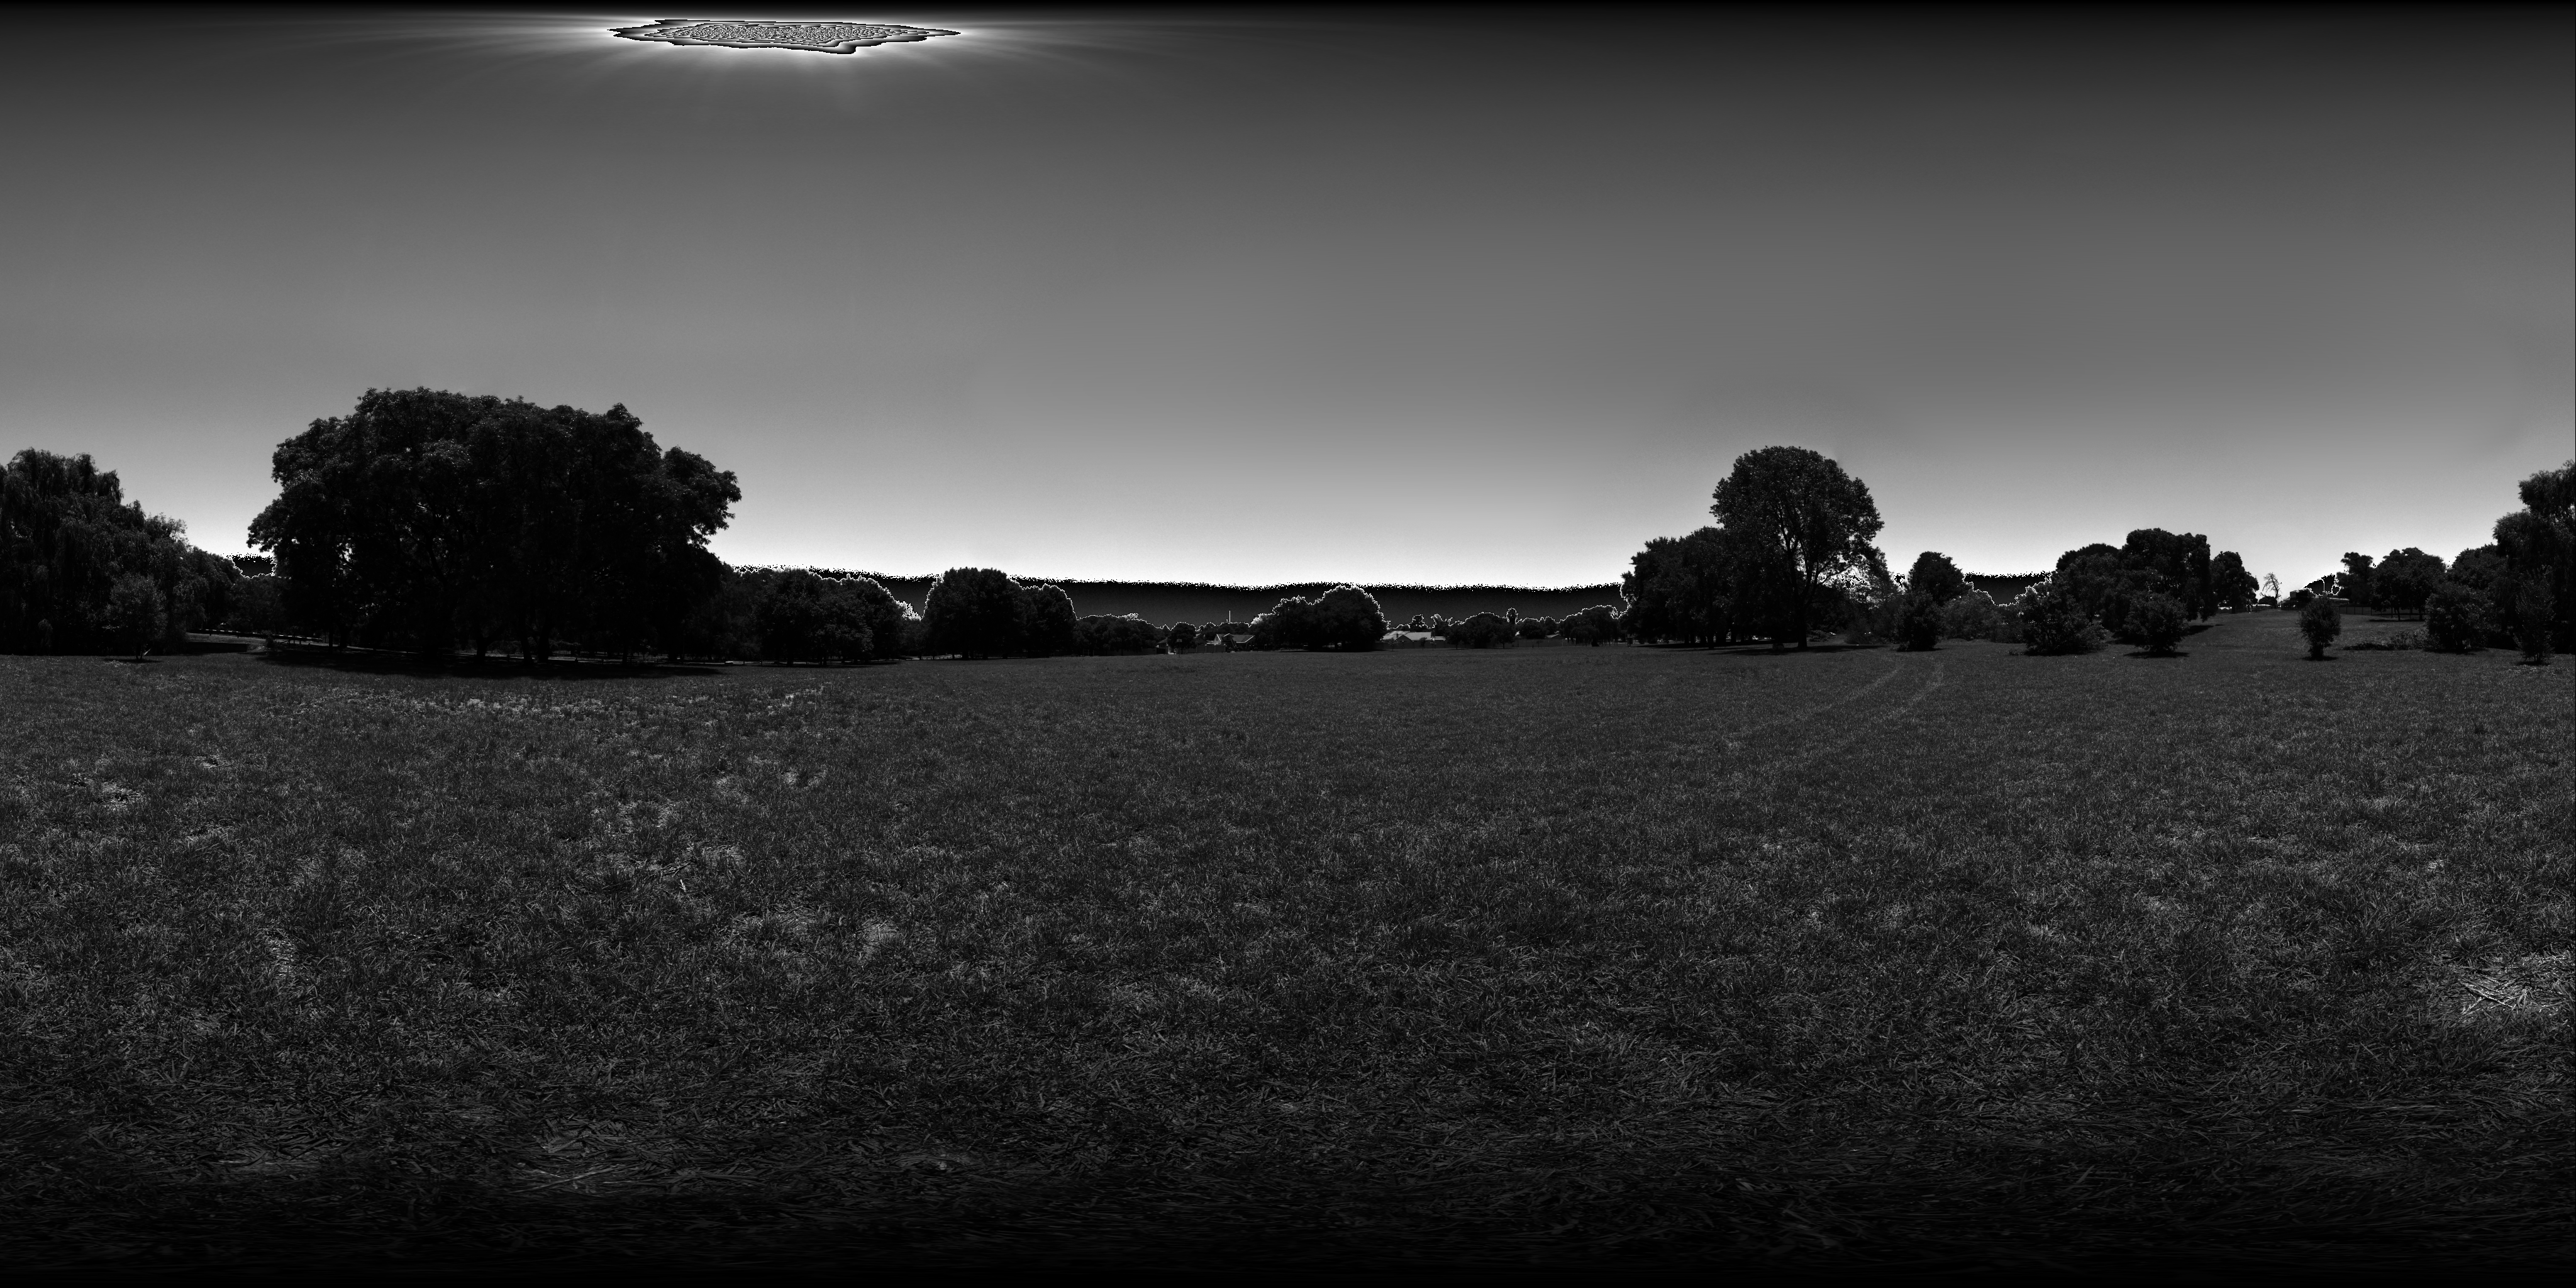
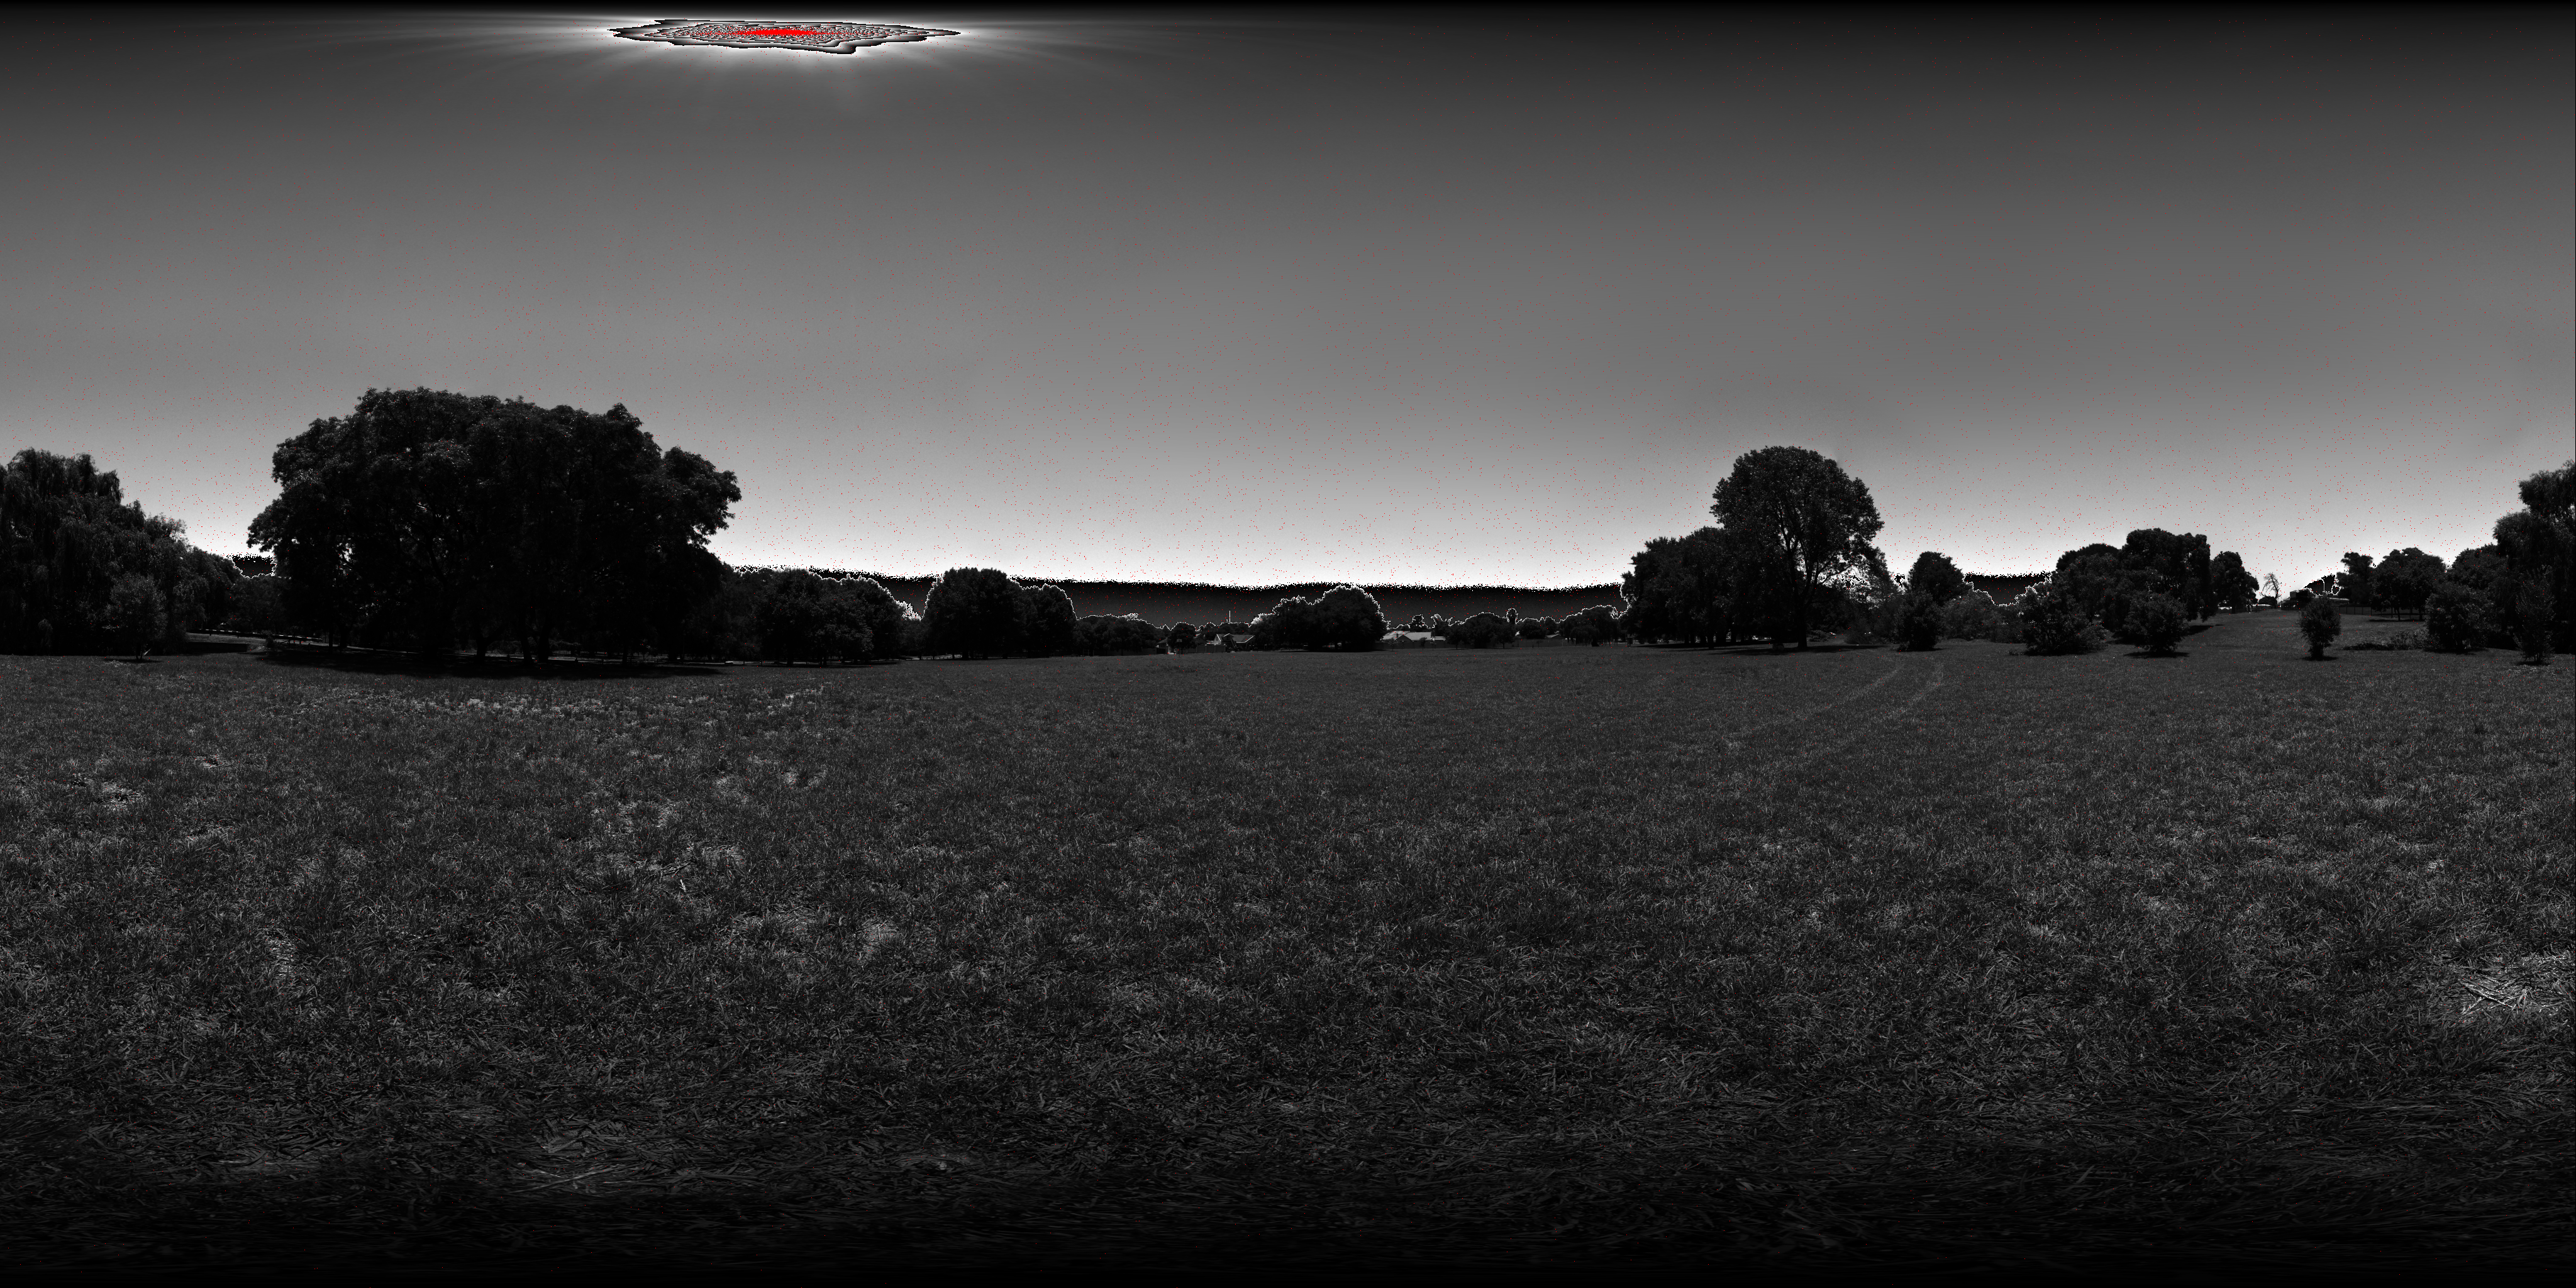
The importance sampling works by first creating an array that stores the maximum of the RGB values for each pixel in the environment map, which represents the brightness of that pixel. Then, for each row, the brightness of each pixel is summed up to get a total brightness for the row and then a row and randomly sampled proportional to its brightess. After a row has been sampled, a pixel in that row is sampled proportional to its brightness within the row. The results of this can be seen in the second and third images. The second image shows the array generated in the first step of the importance sampling. It is essentially a black and white version of the image. The very top and bottom of the image are darkened because of the sin theta term used to account for translating between pixels and spherical coordinates. The sun and parts of the horizon look wrong because they Python program I made to generate this image doesn't handle RGB values above 1, which the original exr image has. The third image shows samples that are chosen during importance sampling, the red pixels are pixels that were sampled. Most of the pixels are around the sun and sky, which are the bright parts of the image, while their are fewer pixels on the ground and in the trees, which are the darker parts of the image.
The bulk of the code for this feature can be found in Scene::environmentMap in scene.cpp, the "env_map" part of parcer.cpp and path_tracer_env_map.cpp, which is similar to path_tracer_nee.cpp but with importance sampling of the environment map.
(##) Directional Lighting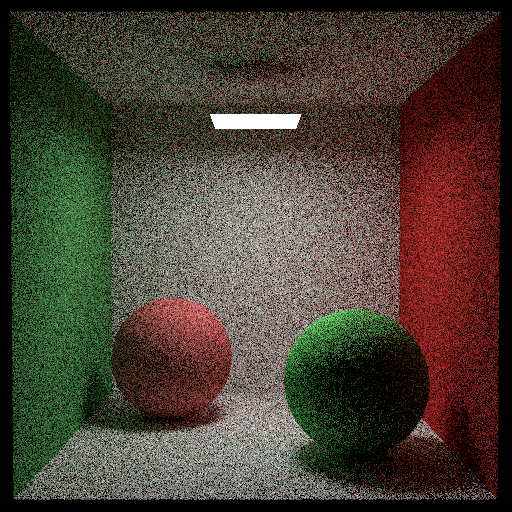
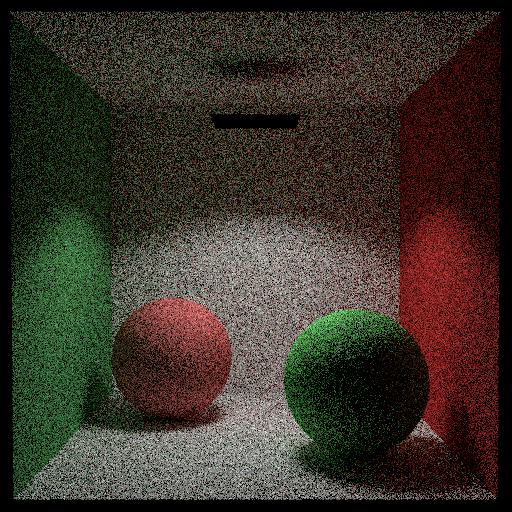
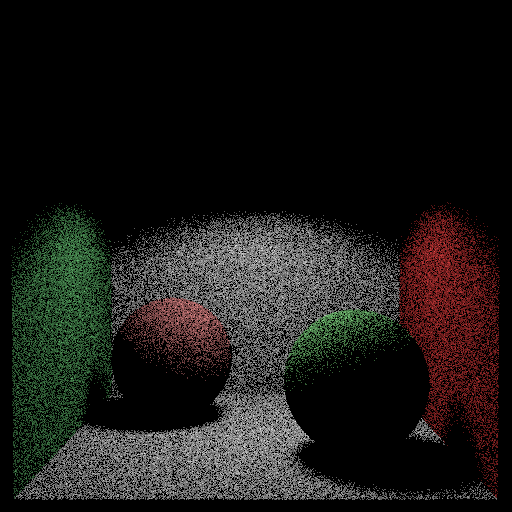
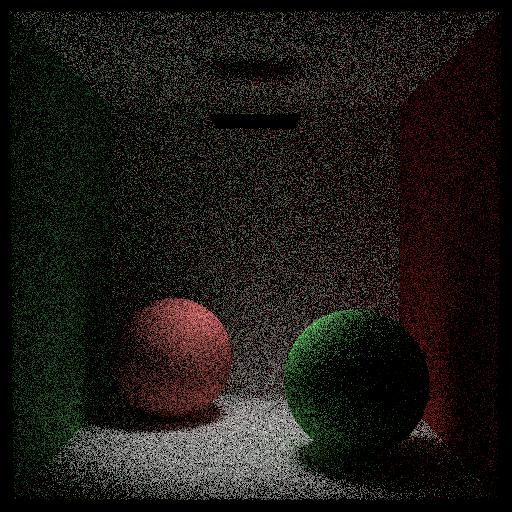
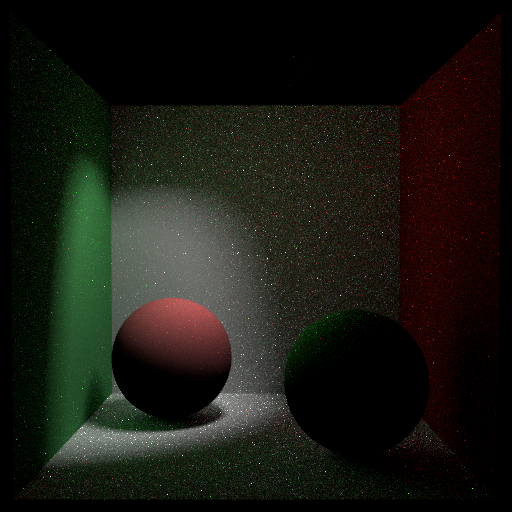
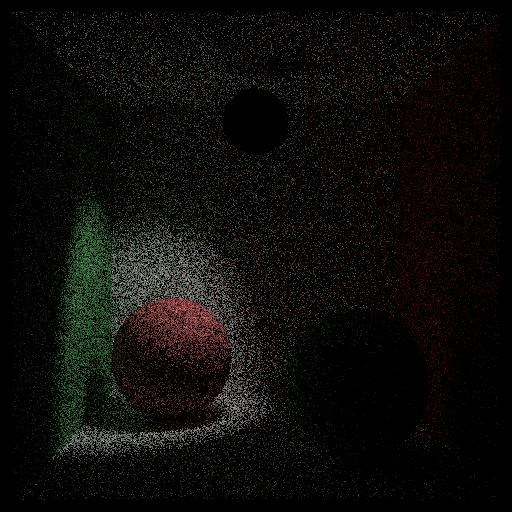
This feature works by specifiying a light direction and allowed directional difference in the json file. Then, when a ray hits a surface that is a directional_light, instead of always returning the emitted radiance of the light, the emitted light is only returned if the direction of the ray - the light direction is less than the allowed directional difference.
The first image is a reference image, using the diffuse_light we used throughout the class. The second image uses the directional light with the light direction pointing straight downward. This image demonstrates that the directional light works as intended, you can see that the light is only shining downwards. Any light in the top of the image is indirected lighting reflected from the bottom. The third image is the same as the second but with only direct lighting. You can see that only the part of the scene that is in a cone in the downward direction of light is illuminated. The fourth image demonstrates shrinking the allowed directional difference of the light. A small area of the scene is directly illuminated. The fifth image demonstrates changing the light direction to not be straight downward, but rather at an angle. This image also demonstrates that path_tracer_nee still works with directional light, the amount of noise is the same as nee with a diffuse_light. The sixth image demonstrates that directional_light works with surfaces other than quads. In this image, the light is a sphere and the directional_light still works as intended.
Most of the code for this feature can be found in directional_light.cpp.
(##) Participating Media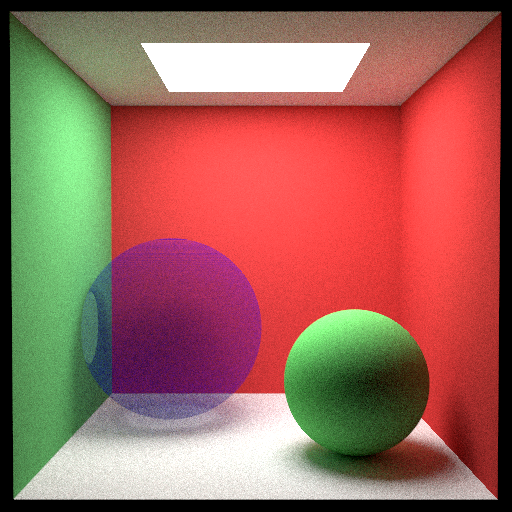
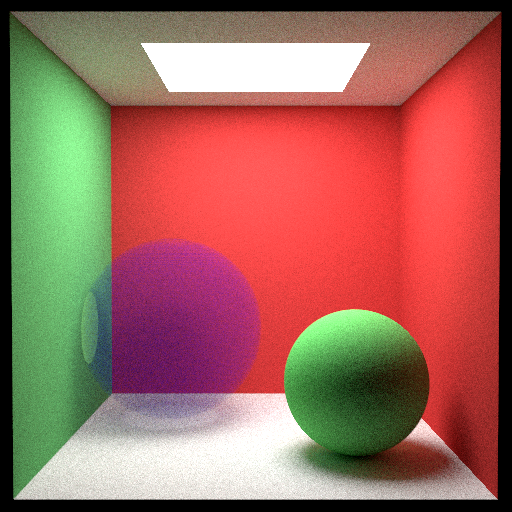
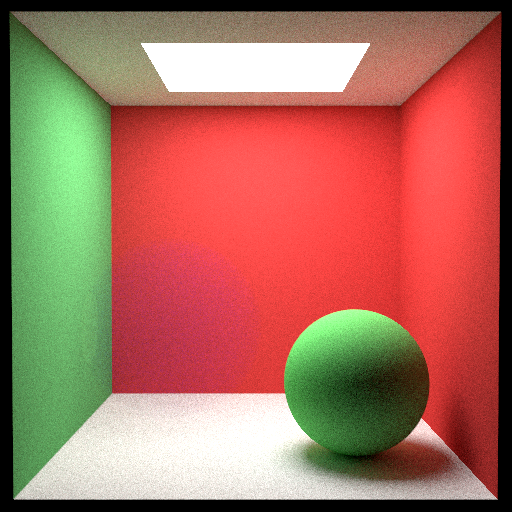
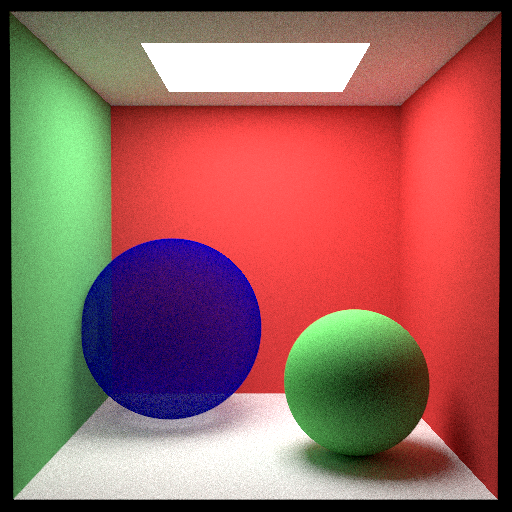
This feature was implemented based on the Ray Tracing The Next Week textbook. The feature works be reading in a medium from the json file, which contains a boundary (which is a surface), a phase function (which is a material) and a density. The medium itself is treated as a surface, but its intersect function acts differently from other surfaces. When the medium is intersected, first rays are traced and intersected with the medium's boundary to determine the "size" of the medium across the ray that intersects it. Then, a random distance is generated proportional to the negative inverse of medium's density. If this distance is greater than the distance between the boundaries for the ray, the ray does not intersect with the medium. If the distance is smaller, the ray travels that distance in the medium and scatters according the the phase function. Because the phase function is a material, it can be sampled to generate a new direction for the ray like other materials and it gives the ray a color, which is where the color of the medium comes from. For now, our implementation only supports homogeneous media with isotropic phase functions.
The first two images show the same participating media, a blue medium, but with different densities. You can see that the two media look slightly different. You can also see that the top half of the medium (closer to the light) is brighter than the bottom half, and the medium casts a shadow on the ground. This shows that light sources still interact with the medium correctly. To validate the implementation, we first tested a medium with a very small density. The results of this can be seen in the third image. As expected, the medium almost completely disappears, because with a small density there is a low probability of scattering off particles in the medium, and a high probability of going straight through the medium with no intersections. We then tested a medium with a very high density. The result of this can be seen in the fourth image. As expected, the medium looks almost solid, because with a high density there would be a lot of scattering off of particles in the medium.
Most of the code for this feature can be found in constant_medium.cpp and isotropic_phase_function.cpp.
(##) Normal/Bump Mapping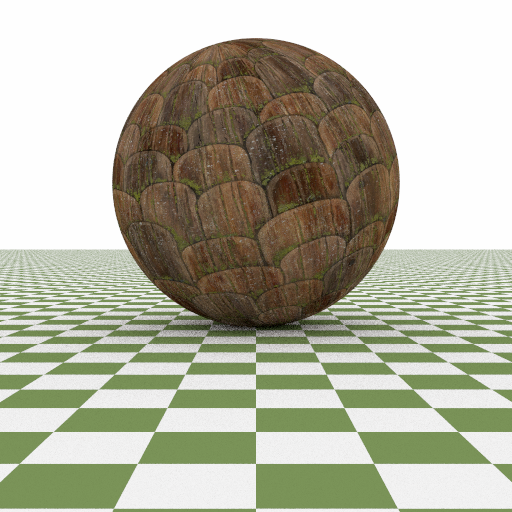
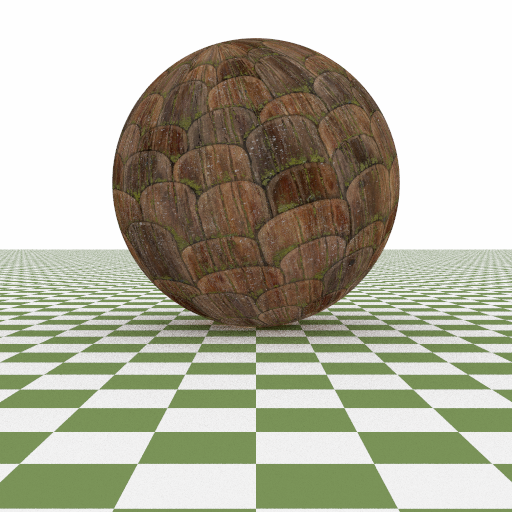
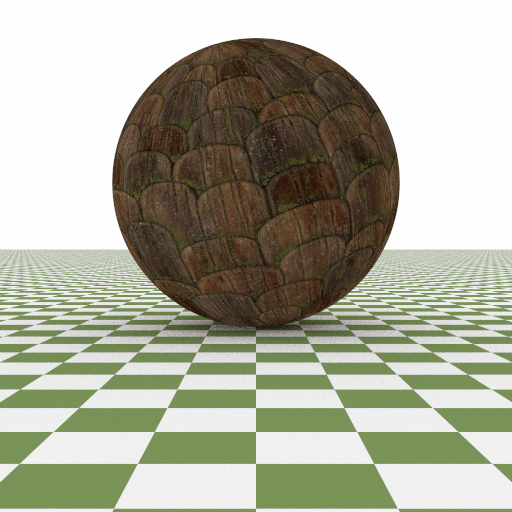
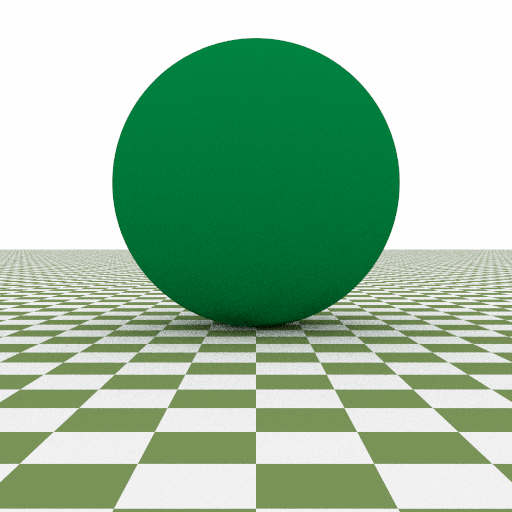
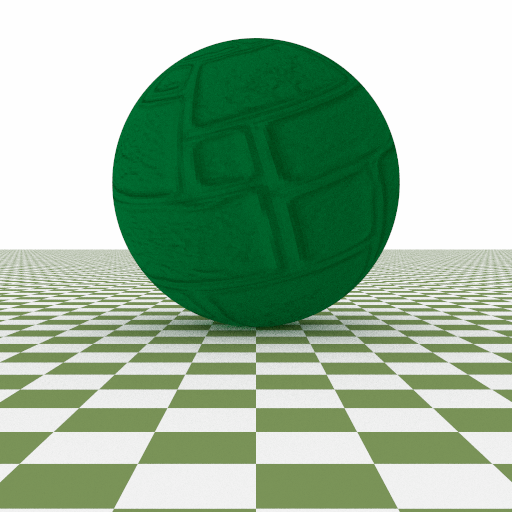
Bump Map / Normal Map is implemented in order to simulate bumps and wrinkles on the surface of an object. The feature works by reading in a normal image from the json file, where each pixel on the image stores the normal vectors by their corresponding RGB values. When an object is intersected with the ray, uv mapping is processed to look up the pixel in the normal image corresponds to the hit point. Translation from the color to vector is followed in order to get the correct normal vector. For the translation, I am following the rule:
Most of the code for this feature can be found in sphere.cpp, quad.cpp and triangle.cpp.
(##) Wood texture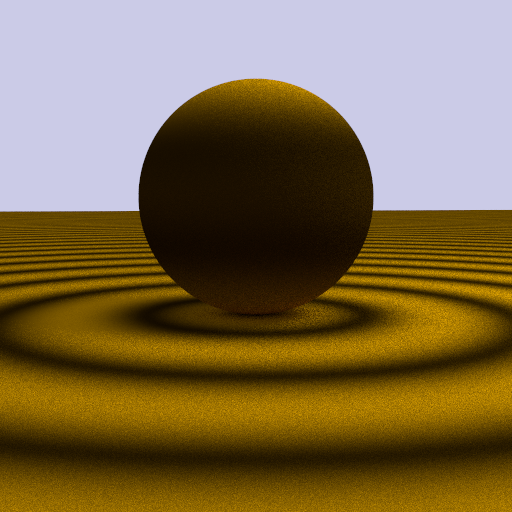
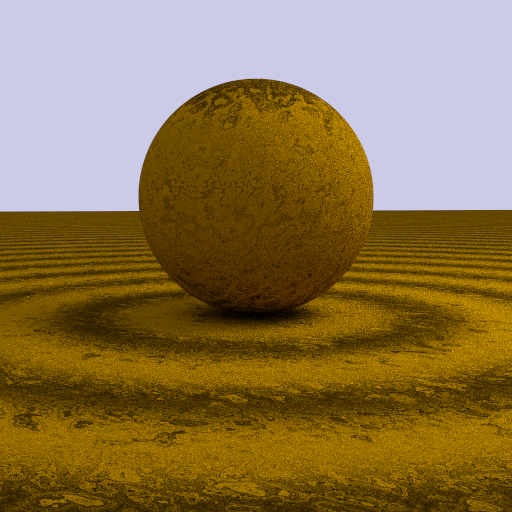
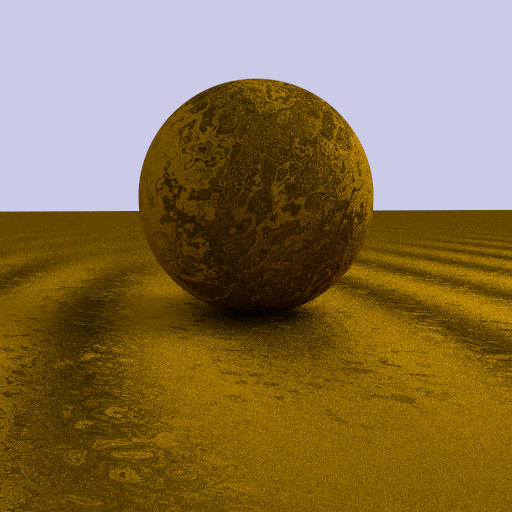
Wood texture is implemented in order to render the bowl on the table in our final rendering. The feature works by combining the equation for circles and the equation we implemented for perlin noise together, then a texture looking like tree rings is created. But in order to be more realistic, the fractional brownian motion has been introduced to make some noise and avoid the perfect rings.
Most of the code can be found within wood.cpp and perlintwo.h
(##) Rotation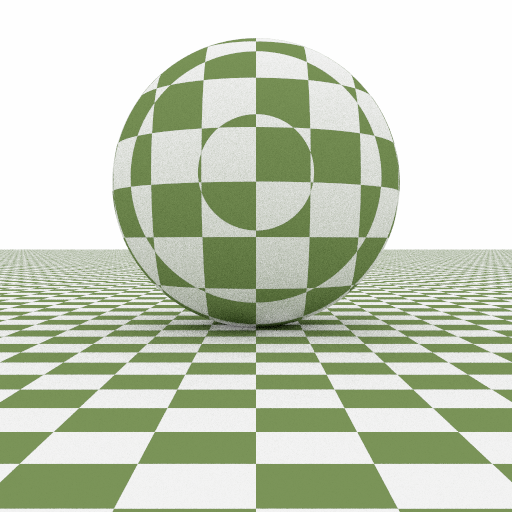
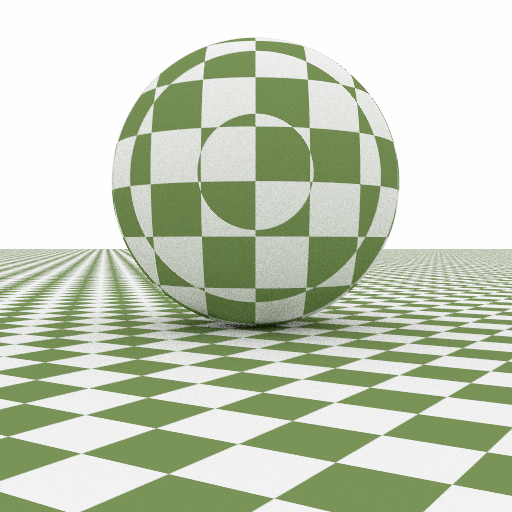
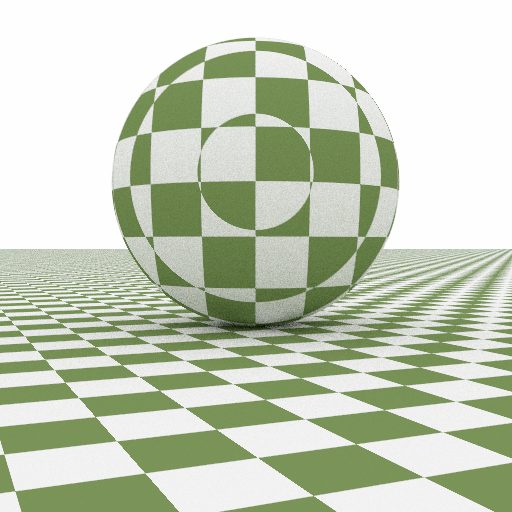
This feature works by applying the matrix transformation. The feature works by reading in a rotate axis and a rotate angle from the json file. With the axis of rotation specified, the transformation matrix is applied on the other two components of the hit points. The cosine and sine value is calculated in order to apply the rotation matrix. Currently, this feature supports rotation of quad with regards to any axis and any angle specified.
Most of the code for this feature can be found within quad.cpp
(###) Banana PeelsAlthough we applied the image mapping for the peel in the end, during the process I have tried some different noise functions and tuned the frequencies, amplitude, persistence, and lacunarity.
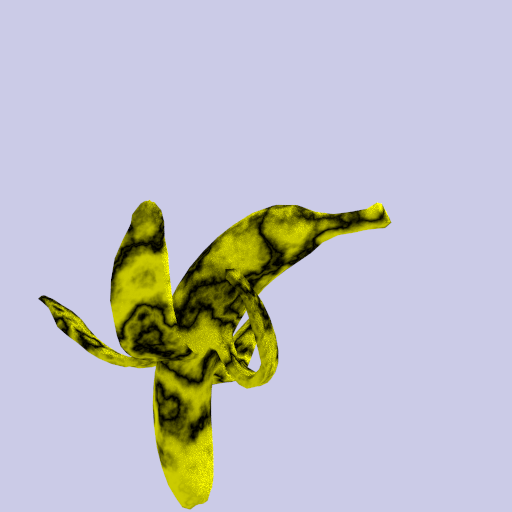
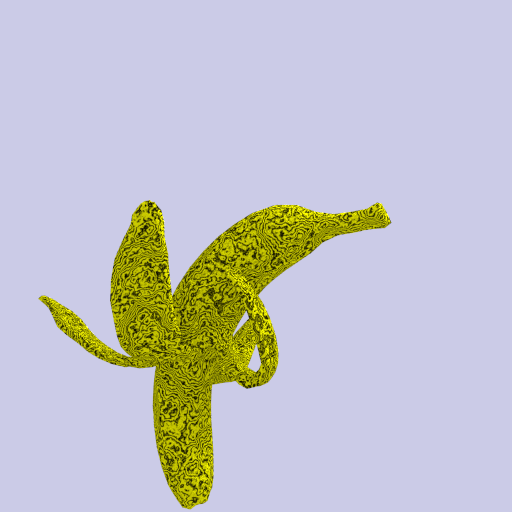
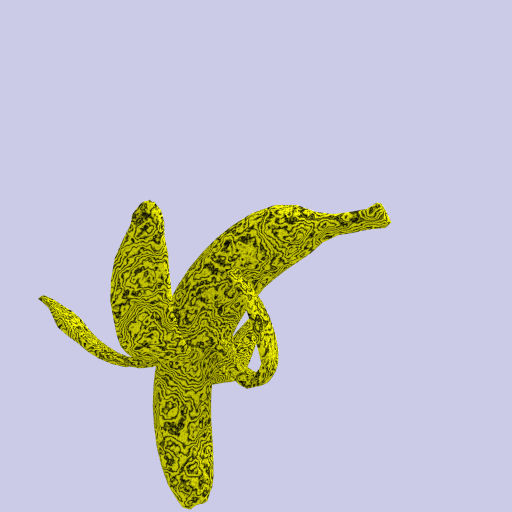
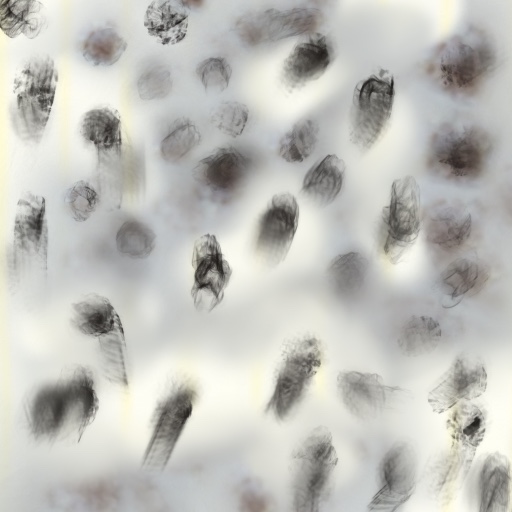
Some images for the banana texture are created using Procreate Application.
 (#) Final Rendering
 (#) Division of labor