Graphics
To get more practice with Java, today we'll be looking at manipulating images and video. We will build on these concepts in Problem Set 1 (PS-1).
Outline
All the code files for today: ImageIOLibrary.java; ImageGUI.java; ShowImages.java; ImageDimmer.java; DrawSquare.java; BlurImage.java; FadeIn.java; VideoGUI.java; VideoProcessing.java; WebcamColorTracking.java; WebcamBg.java.
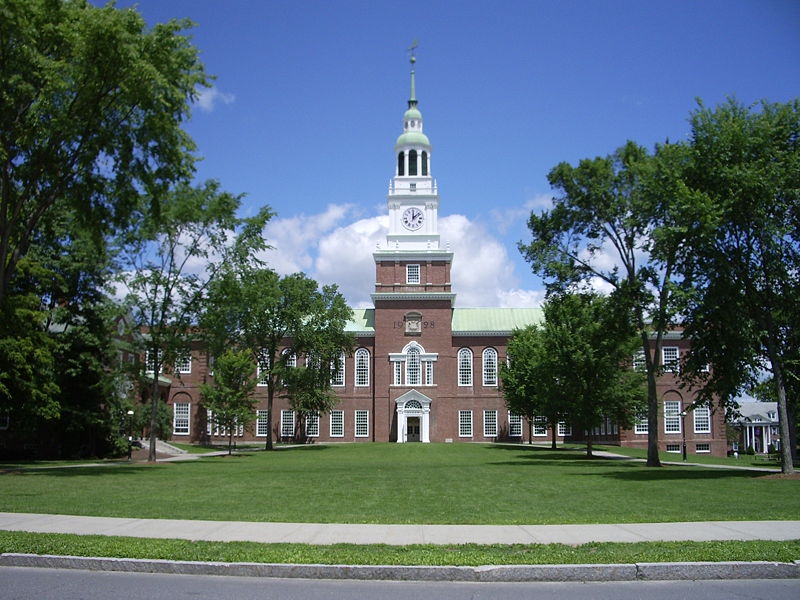
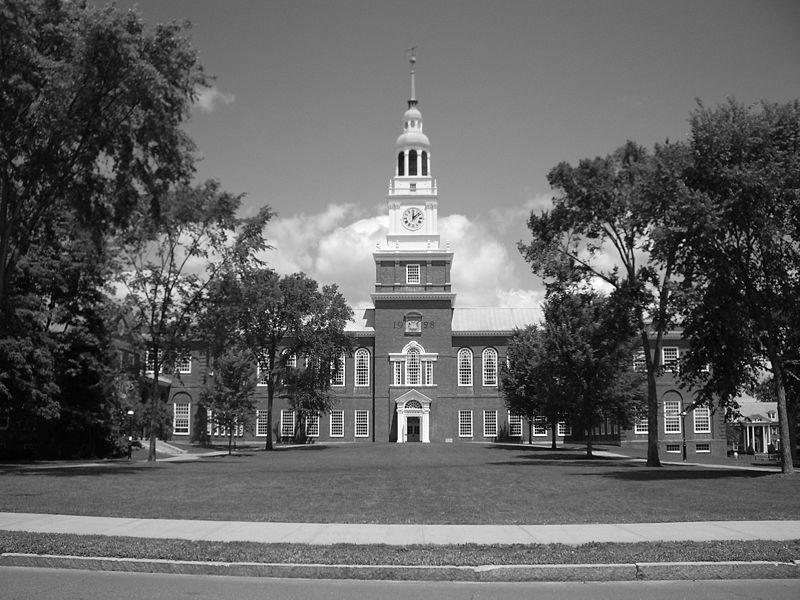
Images for today: baker.png; baker-black-and-white.png; baker-960-720.jpg.
Images
Java lets us load images from files (e.g., gif, png, jpeg, or bmp formats) into memory. Loaded images are stored in a Java-provided class called a BufferedImage. We can easily alter the images and write them back to disk.
Image library
I've provided a simple ImageIOLibrary.java class that includes methods to load and save images:
loadImage(String fileName)loads the image atfileNameon disk and returns aBufferedImageof that image. Valid file types include .png and .jpg. If there is a problem reading the file (e.g., it does not exist), this code stops program executionsaveImage(BufferedImage image, String filename, String format)saves theBufferedImageto a file on disk calledfileNamewith informatspecified (png, jpg).
Feel free to look at the code for these methods, but we will discuss the details of how they work later in the term. One thing to note, however, is that these methods are declared as Static indicates that the method is not a method of an object, but rather just a standalone method of the class. We can invoke it without first instantiating an object by using the class name and a dot before the method name. We've done this before with Math.random where we never instantiated a Math object, but we can still use the random method. Because static methods are class methods, not instance methods, they cannot access an object's state (e.g., its instance variables). Its is the same thing with the main method that we've always used — it exists outside any object, and in fact is where we start creating objects.
ImageGUI
I've also provided a ImageGUI.java class to display one image or two images shown side-by-side. If you pass one image to the constructor (either a file name or BufferedImage, the constructor is overloaded), it will display the image. If you pass two images, it will display the images side-by-side (image1 on left, image2 on right). You can update images with either image with setImage1 or setImage2. If there was no image2 passed to the constructor, setImage2 adds the second image.
ShowImages.java demonstrates loading images using ImageIOLibrary.loadImage and displaying them using ImageGUI.
Manipulating individual pixels
The primary colors for computer screens are red, green, and blue; any color can be specified as a combination of them. For 8-bit color, the color value ranges from 0 (none of that color) to 255 (full on). Thus:
| red | green | blue | result |
|---|---|---|---|
| 255 | 255 | 255 | white |
| 0 | 0 | 0 | black |
| 255 | 0 | 0 | bright red |
| 0 | 255 | 0 | bright green |
| 0 | 0 | 255 | bright blue |
| 128 | 0 | 0 | not-as-bright red |
| 0 | 128 | 0 | not-as-bright green |
| 0 | 0 | 128 | not-as-bright blue |
Other colors are given as combinations of red, green, and blue, as illustrated in this simple color table. (A web search will return many such tools for determining color compositions.) Note that RGB is an additive color model (e.g., red+green=yellow), suitable for mixing light (as a computer display does), as opposed to, say, paints.
To conveniently access the red, green, and blue components, Java provides a Color class that has getRed, getGreen, and getBlue methods. We can get the color of a pixel in a BufferedImage using getRBG, and we can set the color of a pixel using setRGB. Here is an example
BufferedImage image = ImageIOLibrary.loadImage("pictures/baker.png");
int x = 0, y = 0;
Color color = new Color(image.getRGB(x, y));
int red = color.getRed() / 2;
int green = color.getGreen() / 2;
int blue = color.getBlue() / 2;
Color newColor = new Color(red, green, blue);
image.setRGB(x, y, newColor.getRGB());
This code divides each color channel by 2, dimming the pixel at location (0, 0). We can do that for all pixels with nested for-loops looking at each (x,y) location. The full example is in ImageDimmer.java
for (int y = 0; y < originalImage.getHeight(); y++) {
    for (int x = 0; x < originalImage.getWidth(); x++) {
        // Get current color
        Color color = new Color(originalImage.getRGB(x, y));
        int red = color.getRed()/2;
        int green = color.getGreen()/2;
        int blue = color.getBlue()/2;
        Color newColor = new Color(red, green, blue);
        dimmedImage.setRGB(x, y, newColor.getRGB());
    }
}
In our doubly-nested loop, we loop over each row / y coordinate in the image; for each of those, we loop over each column / x coordinate. We use a common loop structure for Java (and other C-like languages), where we initialize (and declare) a loop counter variable (e.g., y), loop while some condition holds (y < image.getWidth()), and update the loop counter (y++). Note that with 0-based indexing, for 600 rows we go from 0 to 599 (as in the table above), and thus the loop continuation test is < 600 (or ≤ 599, though the < version is conventional). If you forget and do ≤ 600 or in some other context try to index the pixel at 600, you'll get a nice error message.
Another example, FadeIn.java, loads an image into a BufferedImage, creates a second, initially blank, image of the same size as the original, and copies random pixels to the second image. The idea is for the image to fade into view as pixels are randomly selected and copied over. This code may be useful for PS-1.
Video
Processing video brings together the concepts we've seen so far. Video is just a stream of images, and we know how to represent and manipulate them. So we'll look at a couple of examples of just doing image processing periodically. But then we'll also consider what we can do once we start recognizing that the images are related to each other.
There's not a standard machinery for processing Webcam images in Java. We'll be using JavaCV, which is a wrapper over the popular OpenCV image processing library. See the software page for installation details. I've wrapped up the details as best I could in a new VideoGUI.java class, that inherits from ImageGUI.java. Because VideoGUI inherits from ImageGUI, it gets ImageGUI's instance variables and methods. VideoGUI starts your laptop's camera taking images every 100 ms. Each time the camera shoots an image, it stores the result in a BufferedImage instance variable called image, it then calls handleImage. handleImage is called a VideoGUI, handleImage calls setImage1 (defined in ImageGUI), passing the image instance variable containing the last camera shot. The result is that the latest image taken by the camera is shown on the screen. You can override handleImage in your class if you extend VideoGUI in your class. Doing so allows you to process each image as they are taken and before they are shown on the screen.
Note that there are two set up parameters in VideoGUI: scale, to down-size the image (useful for intensive processing things), and mirror, to flip the image left-right (feels more natural). The constructor prints out the native camera size, so you can decide what a good scale factor is to yield a sufficiently small image for your machine.
Interaction
VideoGUI sets up call back methods for key and mouse presses. Each time a key is pressed, VideoGUI calls a method named handleKeyPress and passes the key that was pressed as a char parameter. Each time the mouse is pressed, VideoGUI calls handleMousePress and passes the x and y coordinates of the mouse as integers. You an override each of these methods in your own code if you inherit from VideoGUI.
Examples
I've provided some sample examples to show how video can be manipulated.
Video processing
Since the result of a camera image is just our usual BufferedImage, we could apply image processing methods to it after it's grabbed and before displaying it. Try subclassing VideoGUI and overriding handleImage method, as I did in VideoProcessing.java. In this code, when an image is taken by the camera, VideoGUI calls handleImage. We override handleImage and call a method called scaleColor to loop over each pixel in the image and highlight the blue color component while de-emphasizing the red and green color components. The result is an image is displayed with a blueish hue.
Color tracking
We can use webcam as a form of user input. For example, given a color, we can identify the pixel whose color is closest to that. This could then serve as kind of a mouse.
WebcamColorTracking.java demonstrates how to do such color tracking. Upon getting mouse press, we remember (in trackColor) the color of the pixel at the mouse position. Then when drawing a frame, we call a helper method track to find the Point whose color is closest to that. We draw an oval there (after drawing the image). Not particularly robust (in practice, we'd assume that the thing we're tracking moves smoothly), but kind of works!
Background subtraction
How can we make a webcam video, shot from the comfort of our room, look like we are standing in front of Baker? (For best results, one of the same size as our webcam; for me baker-960-720.jpg works.) Filmmakers use the trick of filming in front of a green screen, and then replacing the green parts with the desired background footage. Since we don't happen to have a green screen here, we'll have to go a step further. What we'll do instead is first to take a snapshot of the background without us in it. Then for each frame, we'll get rid of that part of the image, replacing it with the corresponding part of the desired scenery.
WebcamBg.java performs background subtraction in the handleImage method, and provides standard code to read in the scenery and capture the "background" upon mouse press. The idea is to compare the image pixel's values with those of the corresponding background pixel. If they are similar, according to Euclidean distance and a specified threshold, then we replace the image pixel with the corresponding one from scenery. This works best under controlled lighting and if your webcam isn't trying to be too fancy itself by adjusting brightness, etc. You'll need to be sure to scale the webcam image down to the size of the background scenery (the setup scale, stored in a static final variable).
Java notes
- static
- A
staticvariable or method "lives" outside of any particular object. A static method does not need (and is not called upon) any object. - call back method
- A method that is called every time an event happens such as the camera taking an image, a key press, or a mouse press.